Christmas Wreath Greeting Card Tutorial
Every year I create a few special Christmas cards. I try to come up with a new design for each year. And, of course, each card needs to incorporate some sort of fabric.
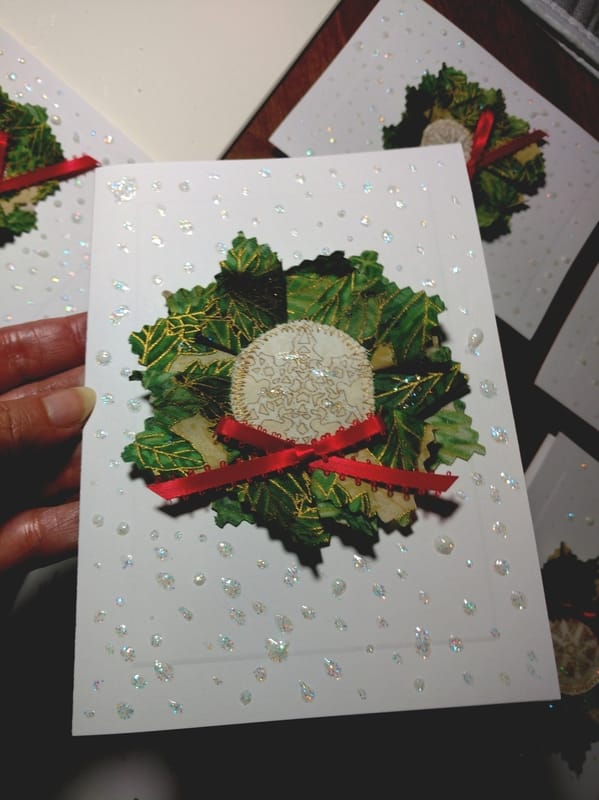
For this year's card, I wanted to do a wreath. This is what I came up with. If you want to make these yourself, here is a step-by-step tutorial with photos. Here's what you'll need: Green fabric Ribbon greeting card blanks glue that is safe to use on fabric glitter glue or irridescent glue (optional) scissors or pinking shears cardboard the same color as the greeting cards |

|
Step 1: Cut the fabric into squares
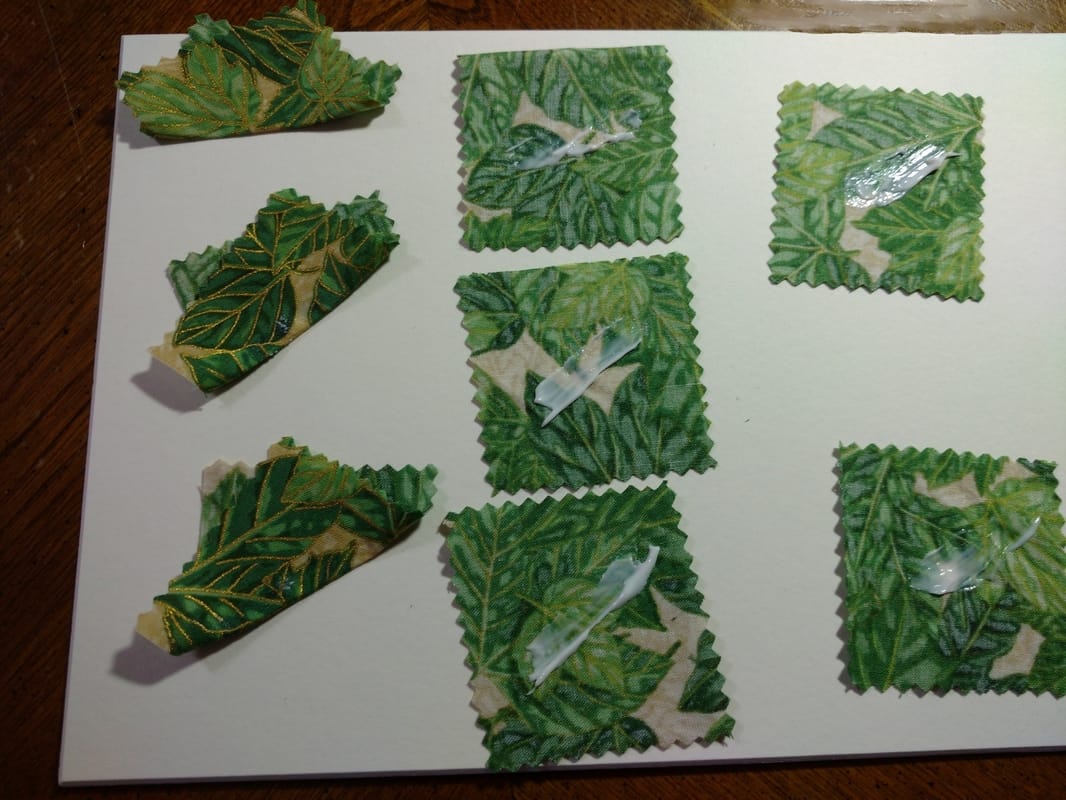
Cut the fabric into a 3 inch wide strip and then cut into 3 inch squares. If you cut just slightly less than 3 inches, you'll be able to get two wreaths out of one strip of fabric.
If you want you can use pinking shears to get a more interesting appearance. If you don't have any, regular scissors will give just as beautiful a result. Lay your squares on a surface that you don't mind getting glue on. Make sure the squares are right side of the fabric facing up. |
|
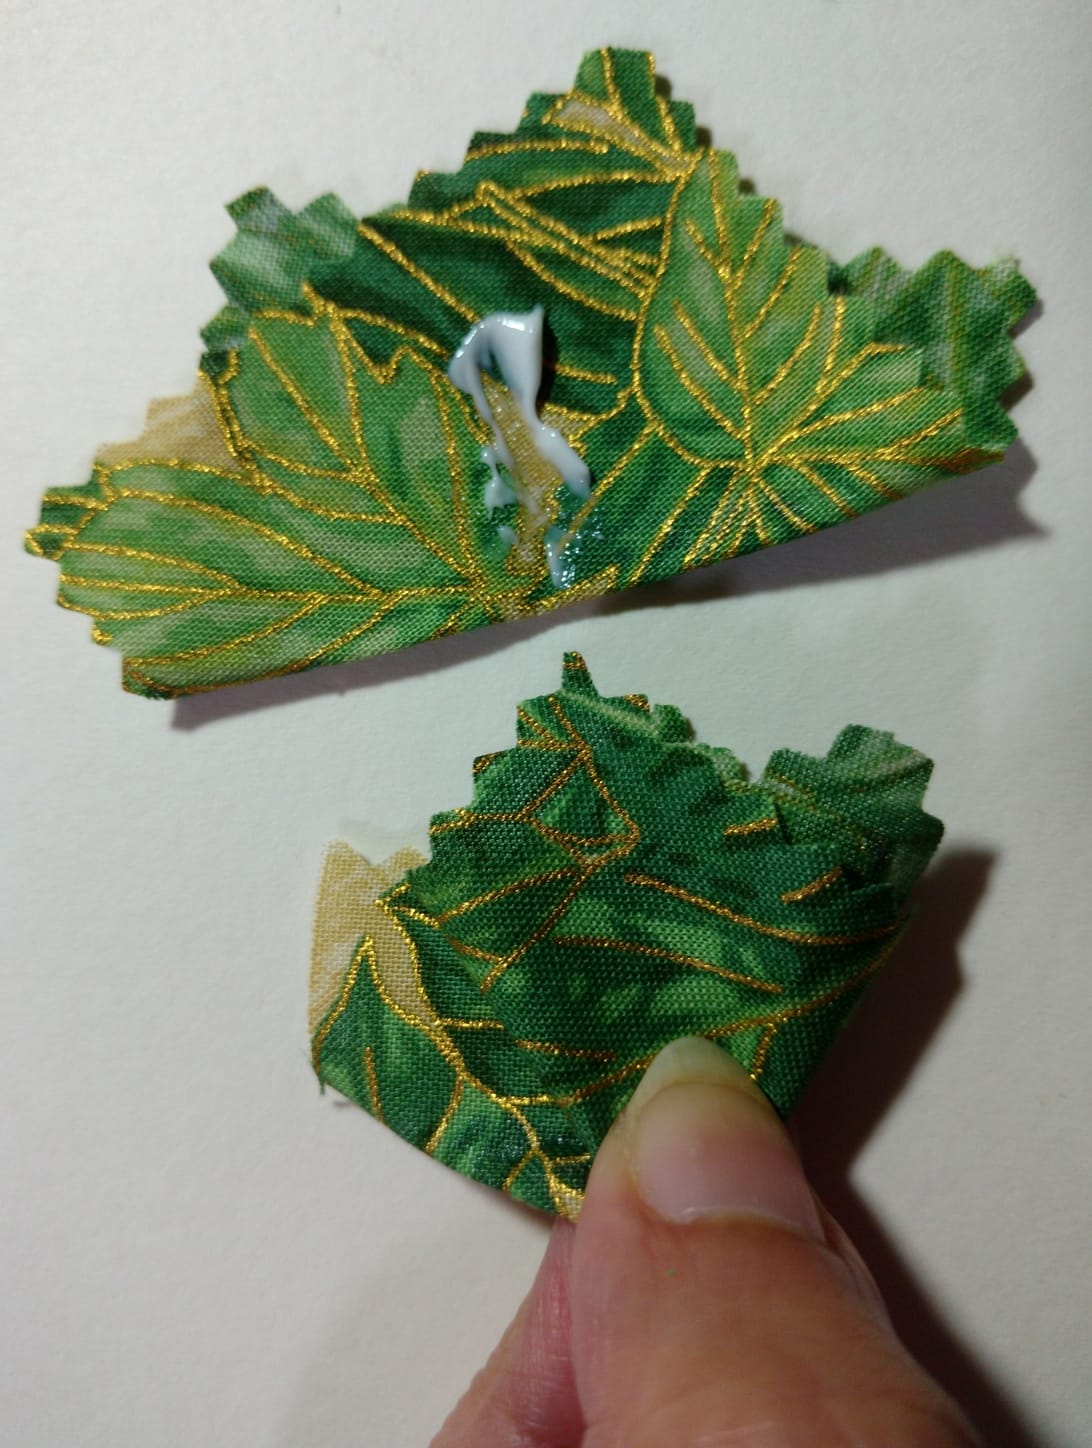
Step 2: First fold
Spread a line of the fabric glue sort of diagonally across each of the eight squares. I like to use Mod Podge Fabric Glue.
Fold the square in half - not quite diagonally and not quite squared up, just somewhere in between. It doesn't need to be exact. Imperfections make these more interesting. Push the fabric together and rub a bit with your fingers to make sure the glue holds. Here's what the batch looks like with all of the squares folded. |
|
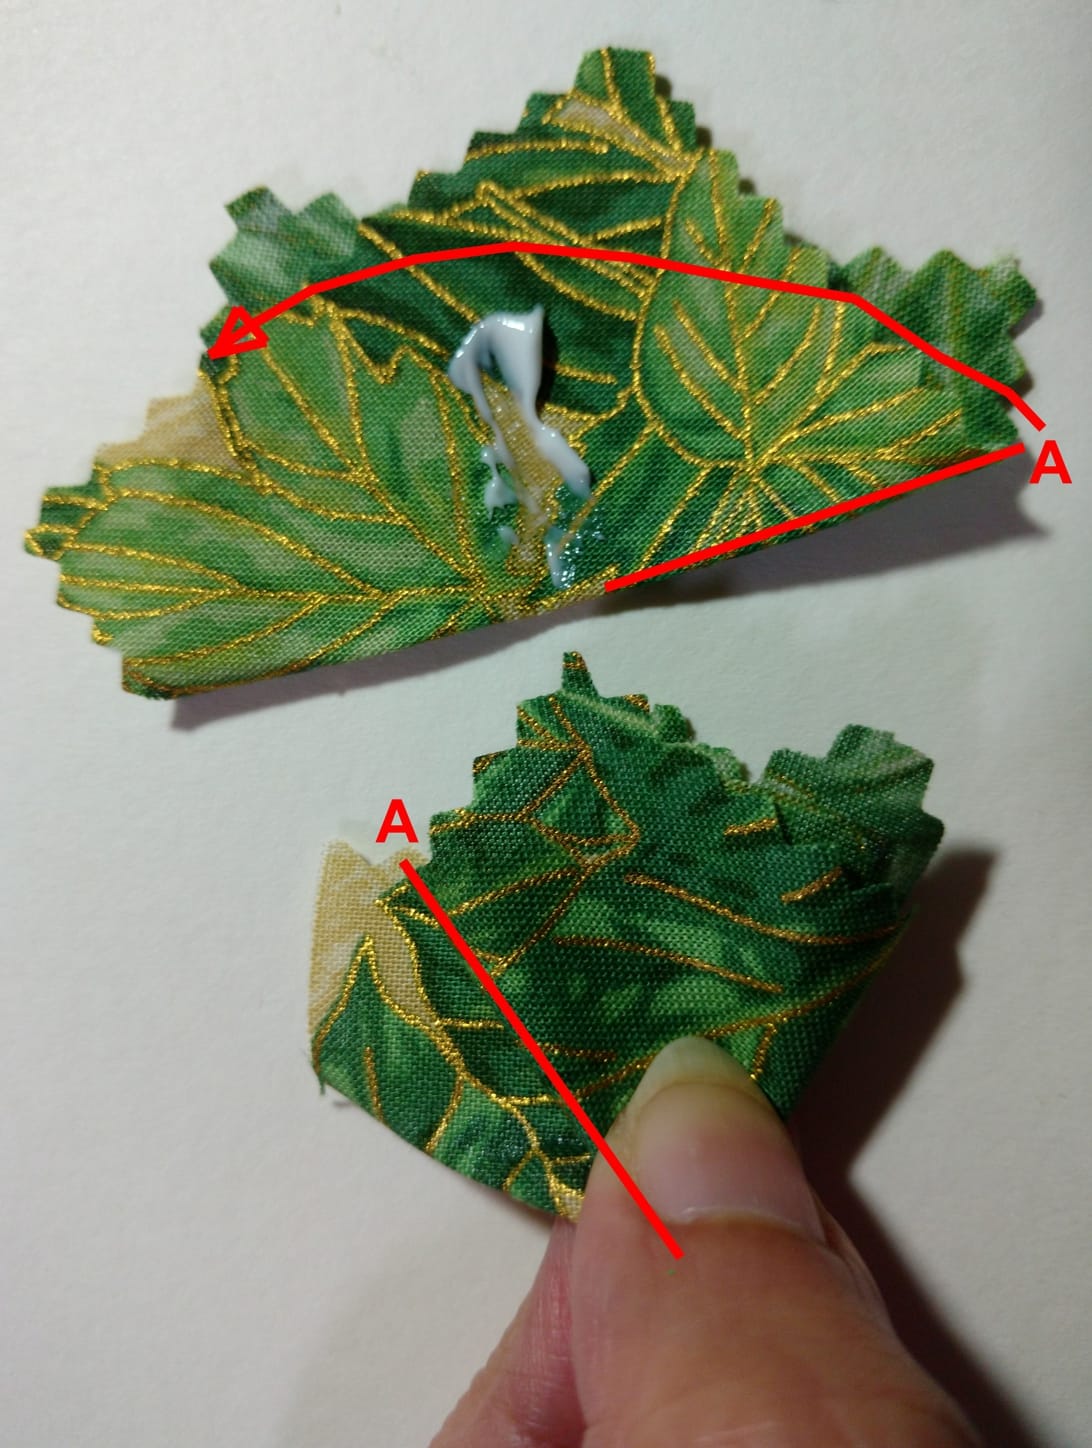
Step 3: Second fold
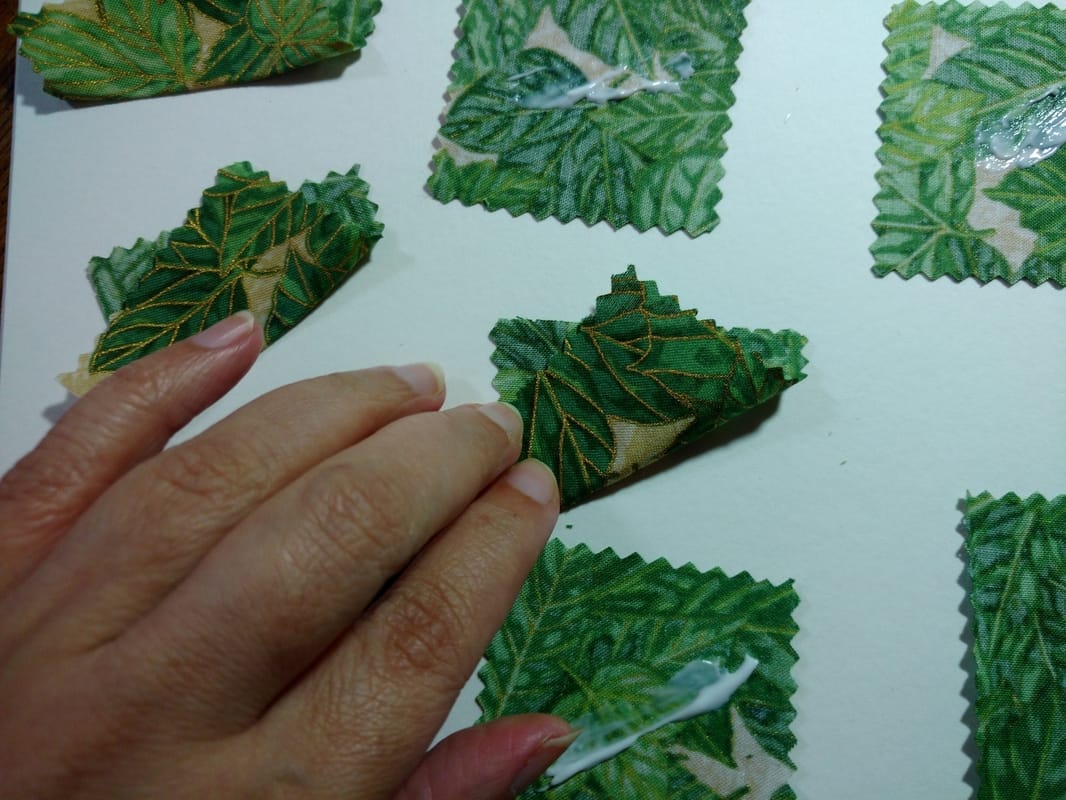
Spread a line of the fabric glue roughly down the middle of each of the eight folded sort-of rectangles.
Fold the right edge over so that it is near the left edge but doesn't meet. See the image below to see where red line A gets folded. It doesn't need to be exact. Push the fabric together and rub a bit with your fingers to make sure the glue holds. Do this will all eight of the pieces. (You may need to wash the glue off your hands by now.) |
|
|
|
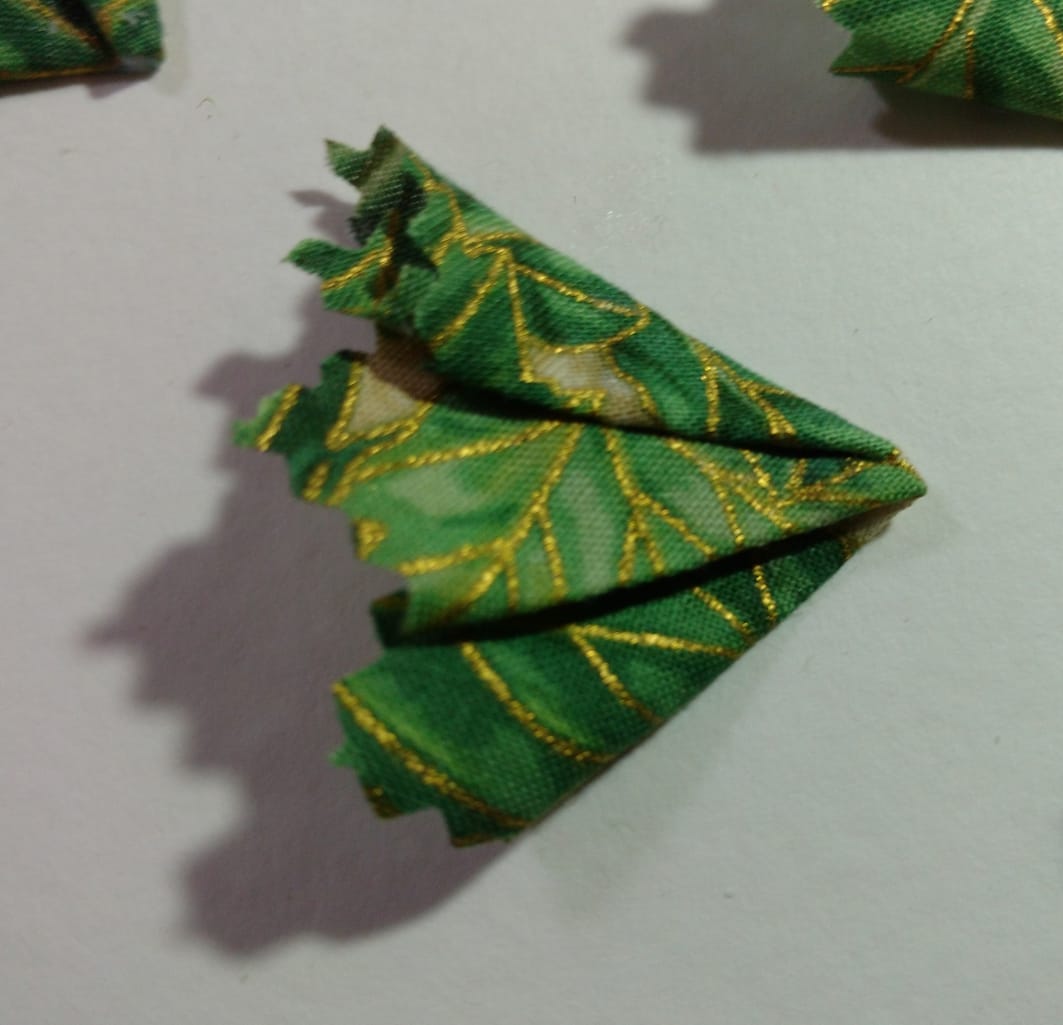
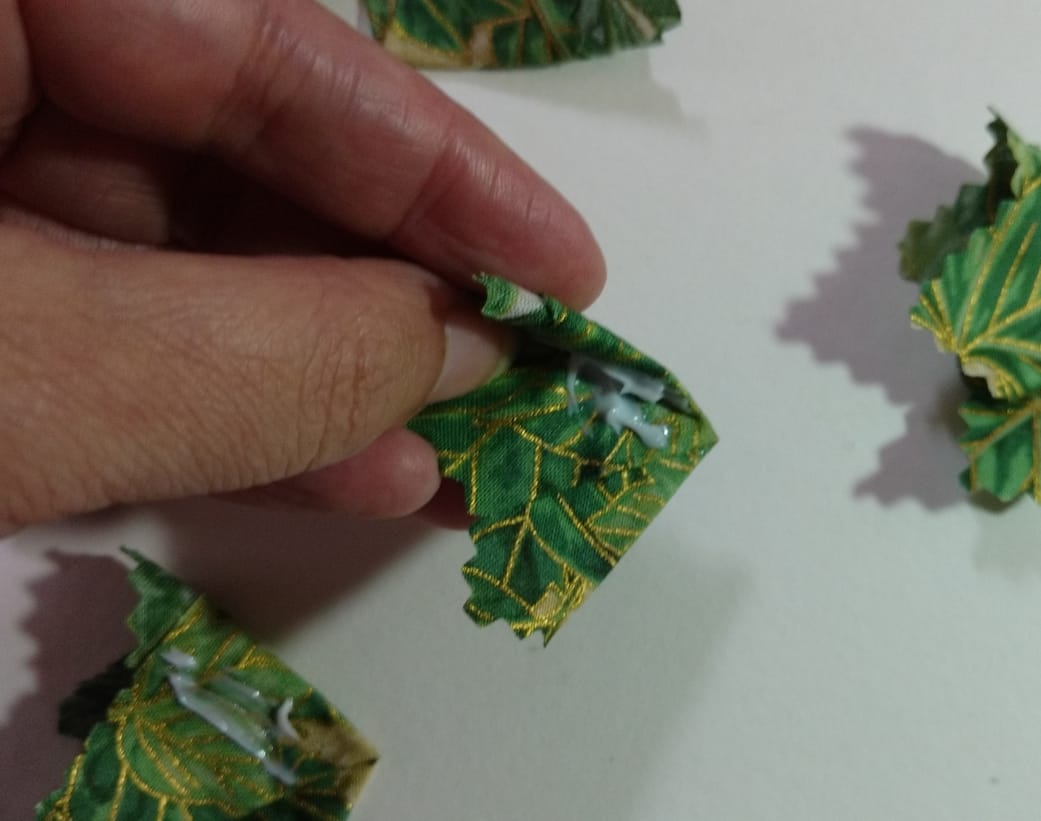
Step 4: Third fold
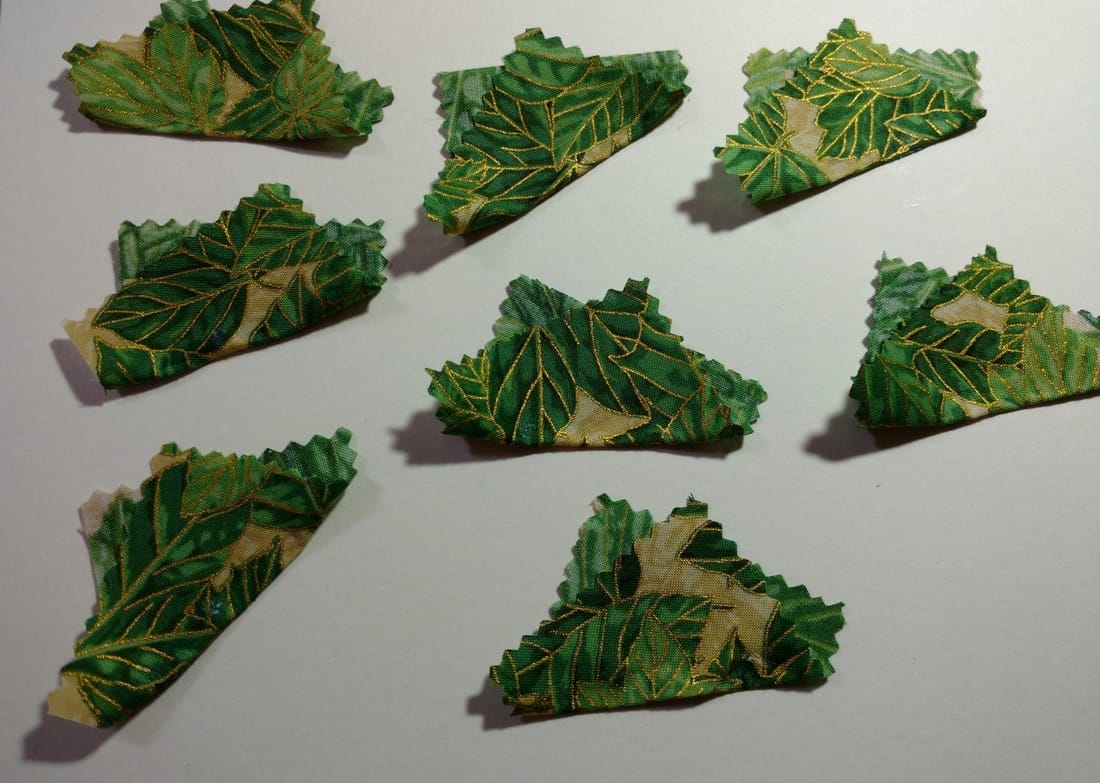
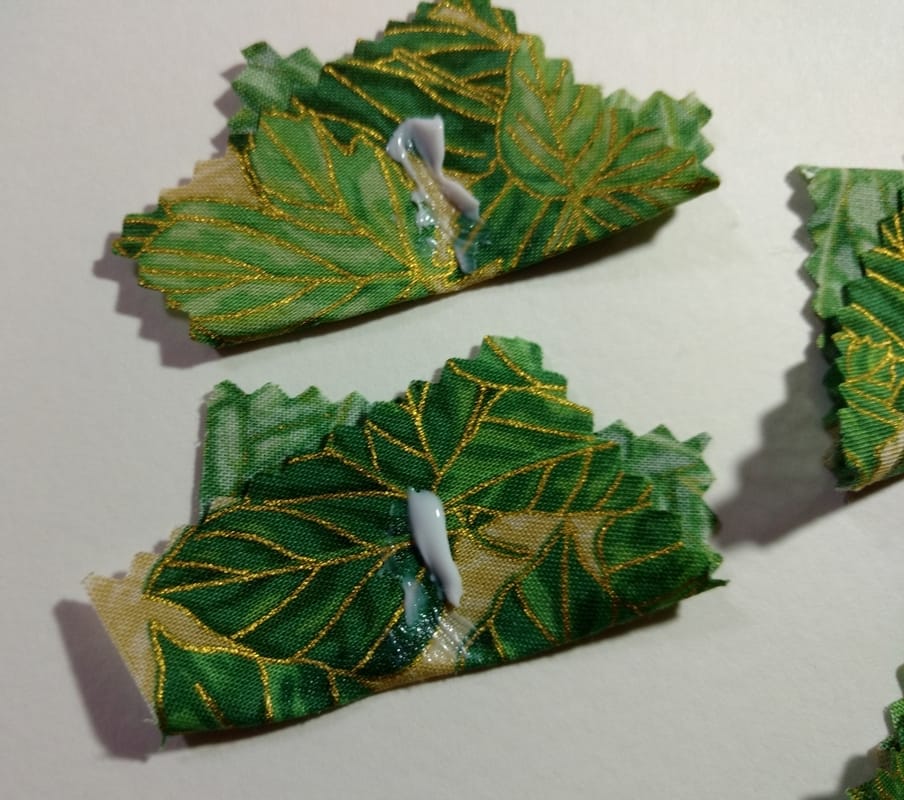
Do another fold similar to the one above. It will look like it has been folded in thirds. Remember you don't need to make it look perfect.
Since the layers of fabric toward the point are getting thick, you may have to really rub hard to make sure the glue holds. You may need to use clothespins or binder clips to hold the folds in place until the glue sets. Use a piece of plastic (plastic wrap or a plastic bag from the store) between the fabric and the clothespin so you don't accidently glue the fabric to the clothespin! Do the same with the rest of the pieces and allow the glue to dry. Be sure to wash the glue off your hands before proceeding to the next step. |
|
|

|
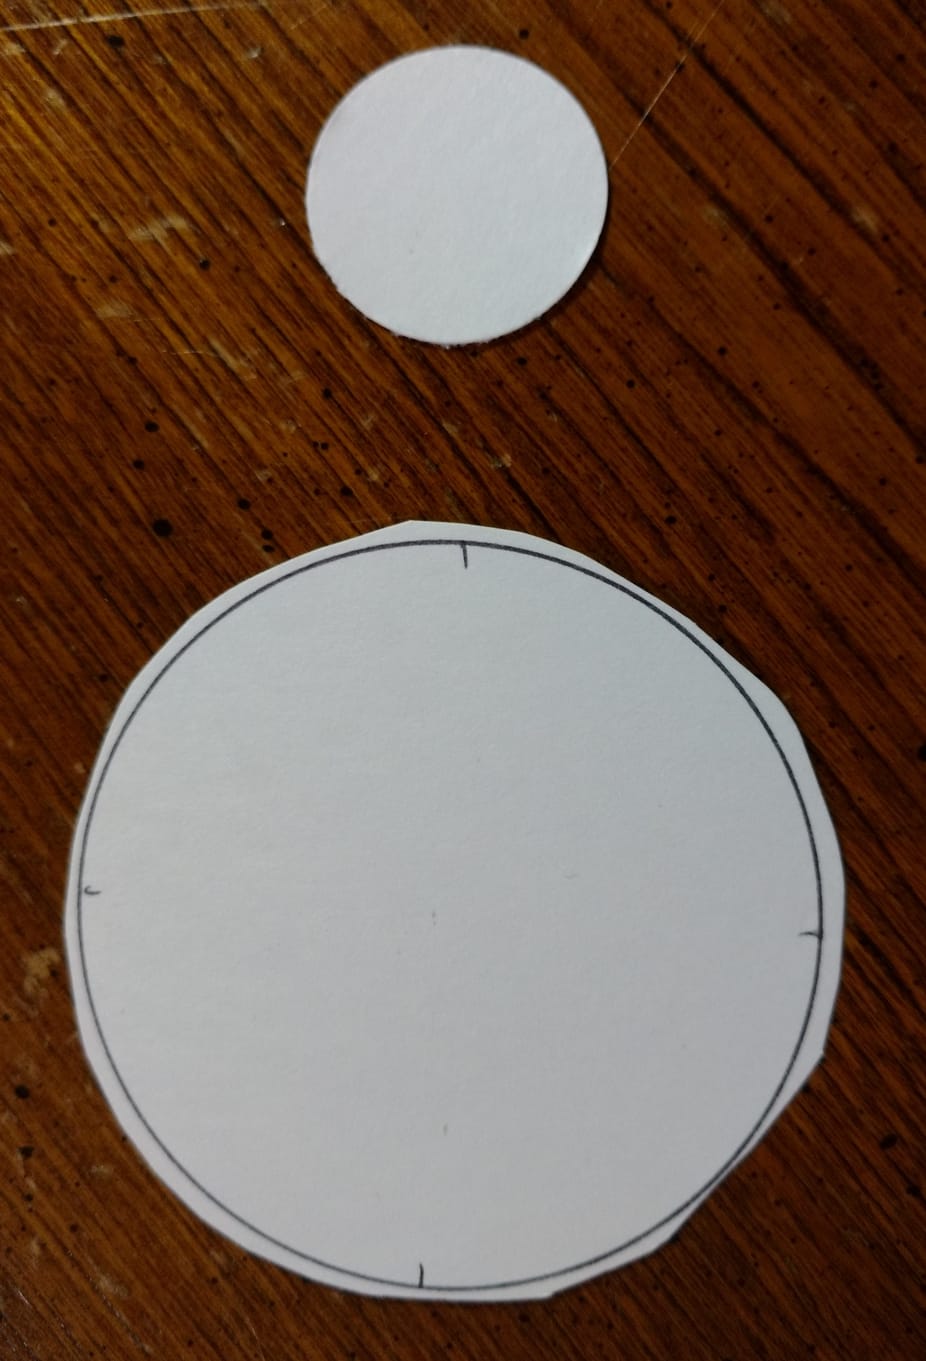
Step 5: Cut two circles
Cut two circles from the same cardstock as the blank greeting cards. The center circle needs to be the same cardstock as the greeting card so that it blends in with the background and looks like the center of the wreath.
The first circle should be about 2 1/2 inches and the other about 1 1/2 inches. The larger circle will be the base of the wreath and the smaller one will cover the inner part of the wreath. |
|
|
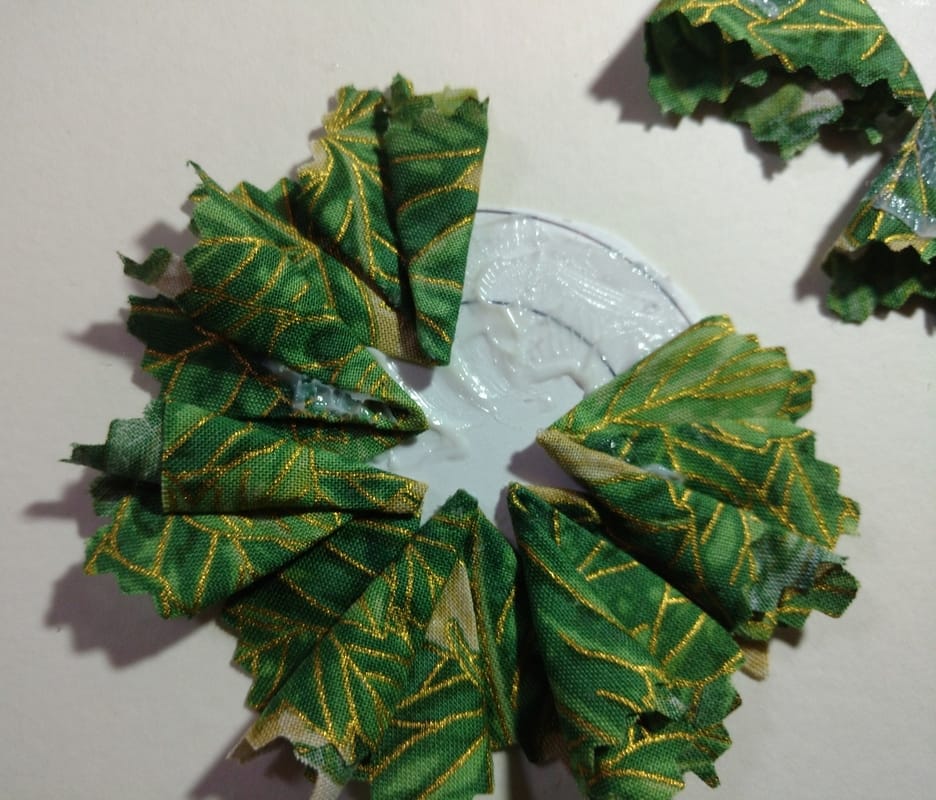
Step 6: Glue the wreath together
Lay the smaller circle in the center on top of the larger circle. Trace a line around it. This will be a guideline.
Spread glue all over the entire surface of the circle. Lay each of the wreath pieces onto the circle with the points facing inward. The points do NOT need to meet at the center since it will be covered up. Just be sure that the guideline is not visible. |

|
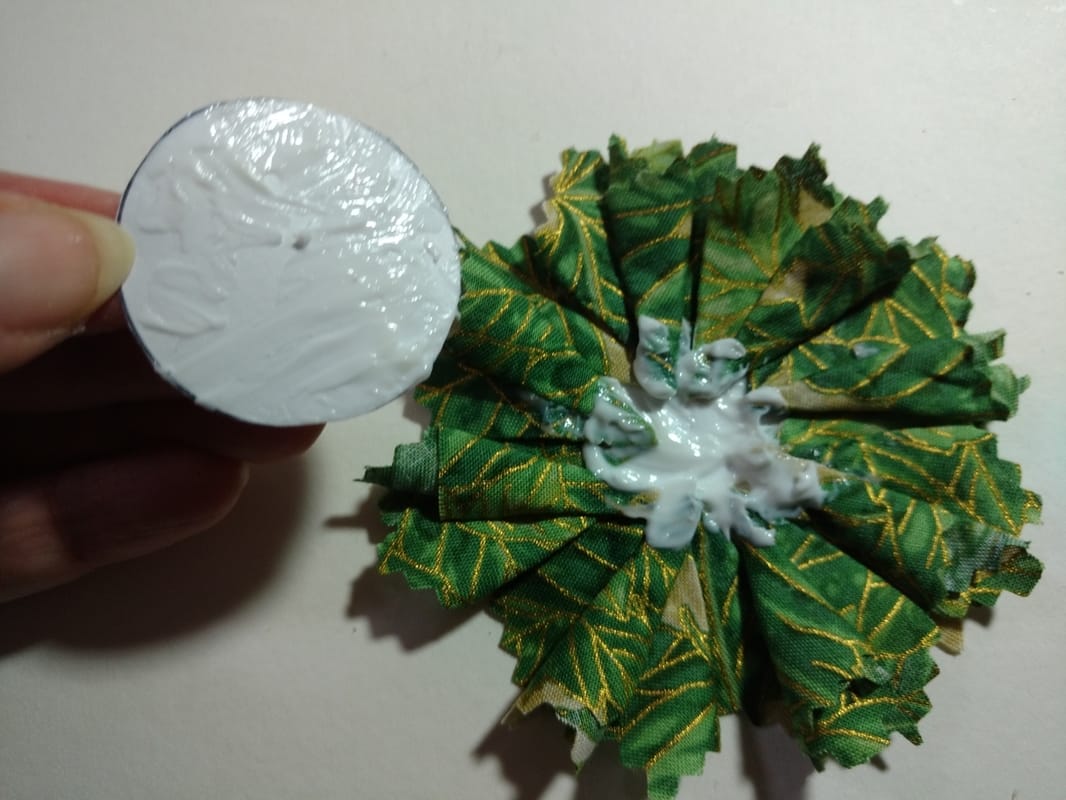
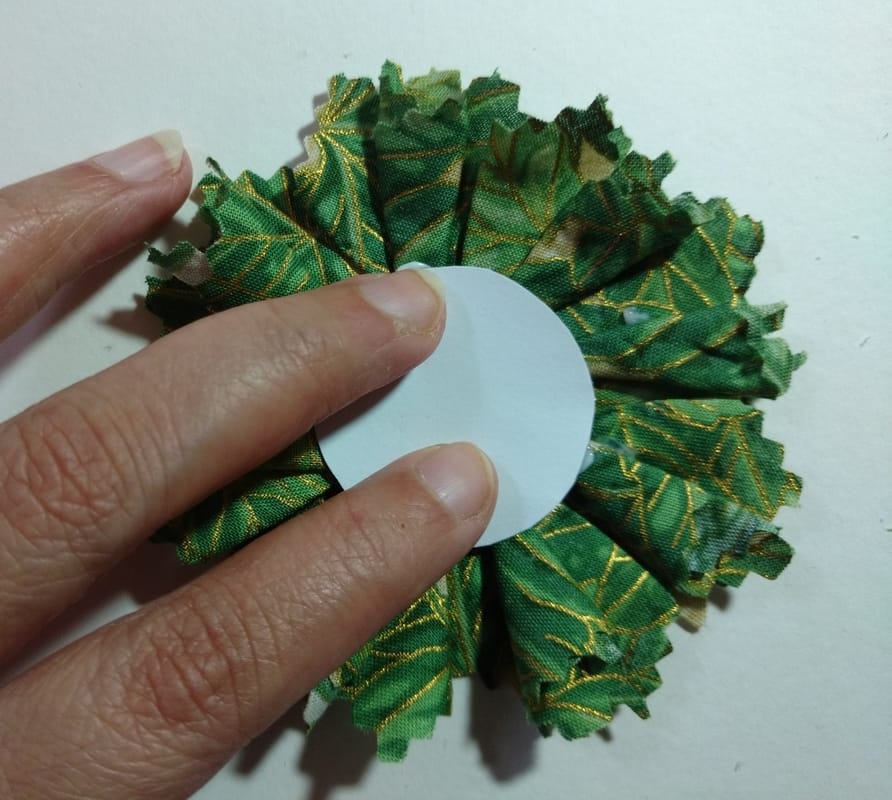
Step 7: Glue the center
Spread glue on the smaller cardstock circle and in the center of the wreath.
Place the cardstock circle in the center of the wreath. Try to get it as centered as possible. Use your fingers to push the cardstock down especially around the entire edge. Allow the glue to dry. |
|
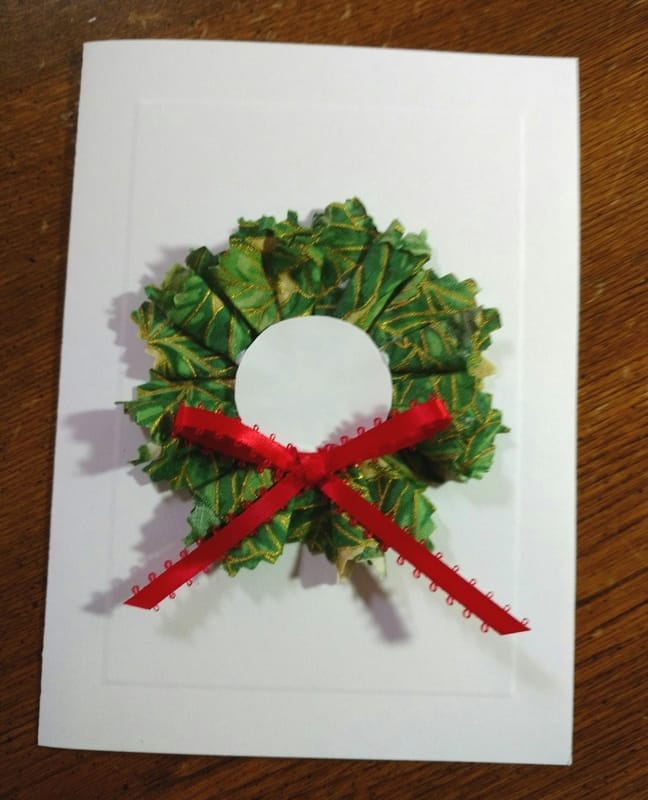
Step 8: Add a bow & finish the card
If you are going to use your computer printer to print a greeting inside the card do it NOW! You won't be able to run the card through the printer once the wreath is glued on.
Spread glue on the back of the wreath and glue it onto the card. Use a small piece of ribbon to make a bow. Glue the bow on the wreath. Allow the glue to dry. |
|
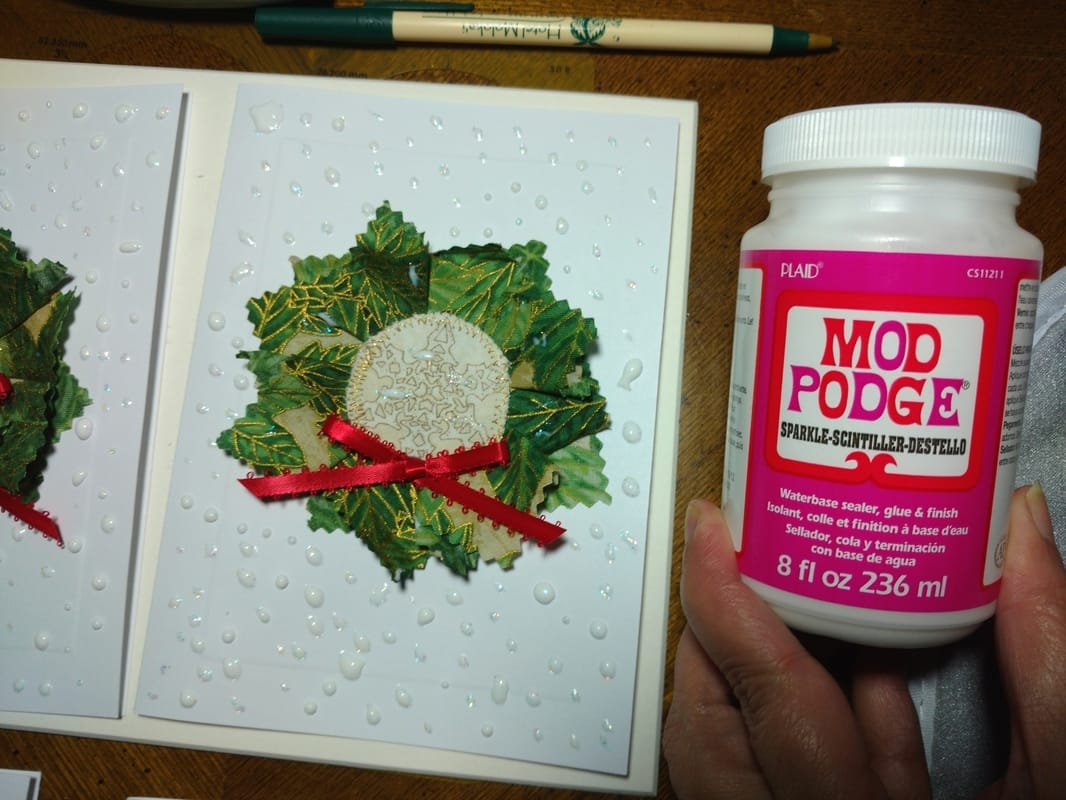
Step 9: Decorate
This step is optional.
I wanted to add a look of snow falling. To do this I added small drops of Mod Podge Sparkle all over the surface of the card. This glue has tiny shimmery sparkles in it. You could also use a glitter glue or just leave it plain. |
|
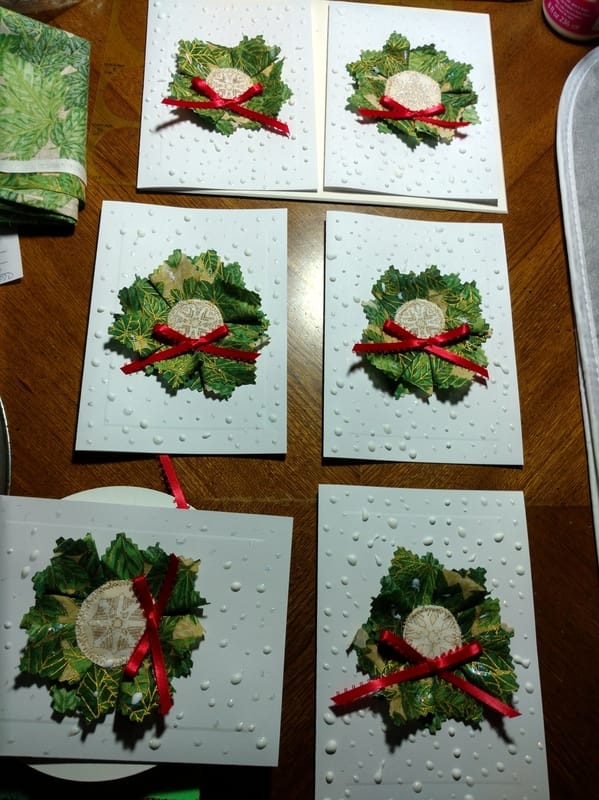
The batch of finished cards...
|
|