Easy Quilt Binding Instructions
These free instructions are for binding a quilt. The method brings the backing fabric to the front of the quilt to create the binding. It is a very simple method that results in perfect corners and very little hand sewing (unless you really want to do hand sewing).
|
Step 1: Quilt the Top and Measure the Backing
Make the quilt top. Cut the batting the same size as the quilt top. Lay the quilt top on the batting and quilt. Yes, at this point the backing is NOT being quilted. Now cut the backing fabric larger than the quilt top and batting. How much larger? If you want your binding to be 2 inches wide, then cut the backing fabric 4 inches wider on all sides. For example: If your quilt top is 20"x30" and you want a 2" wide binding, cut the back 28"x38" |
|
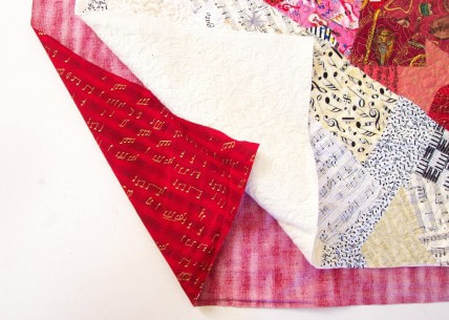
Step 2: Quilting
Square up your quilted quilt top. This is the time to do it. After the back is quilted on, you won't be able to make any changes to the edges. Make the quilt sandwich. Be sure that the quilt top and batting are exactly centered in the backing fabric. Pin everything in place and quilt. Be careful not to catch the loose sides of the backing fabric as you sew. You have a choice, you can either quilt from the front or from the back. Remember, use an appropriate color thread as the top of the quilt is going to be quilted twice. In Step 3 you can see the second layer of quilting done in red thread. |
|
|
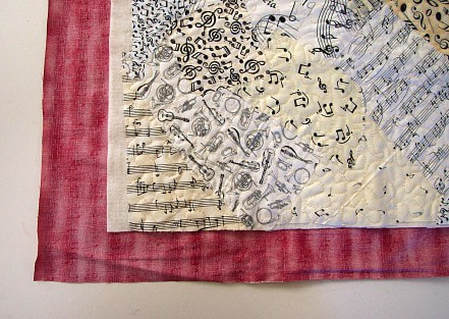
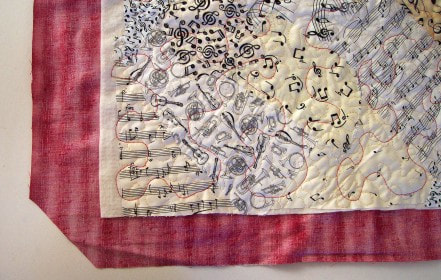
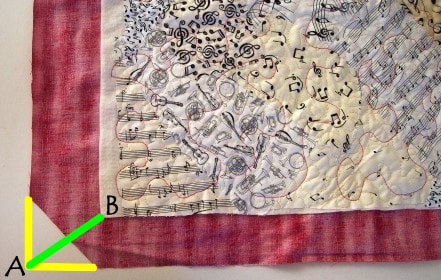
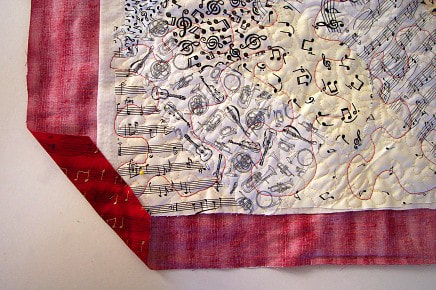
Step 3: Reduce Bulk
Cut off the corners of the backing fabric to reduce bulk. Fold the point of the backing fabric in to the corner of the quilt top to determine where to cut. The fold line is the place to cut. To make it easier to visualize, fold the corner so that point A meets point B. It doesn't need to be exact, you're not going to see the cut edge. You just need to get rid of some of the fabric so your corners aren't too thick.
|
|
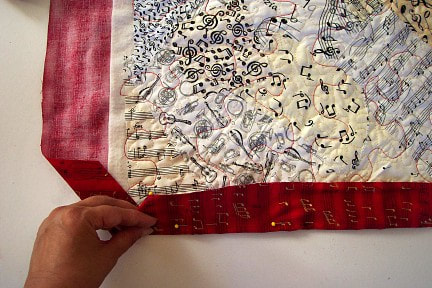
Step 4: Fold Corner
Fold the truncated corner of the backing fabric in at exactly the point of the quilt top. Pin in place. |
|
|
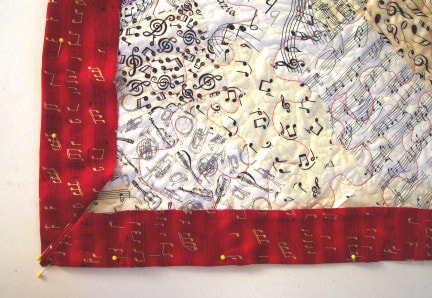
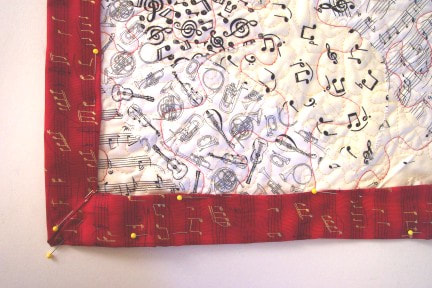
Step 5: Fold Over Edges
Start folding over the edges of the backing fabric. Make sure it is folded over exactly along the edge of the batting. Pin in place. When you get to the corner, tuck the raw edge under. This is where the beautiful mitered corners will start to show. |
|
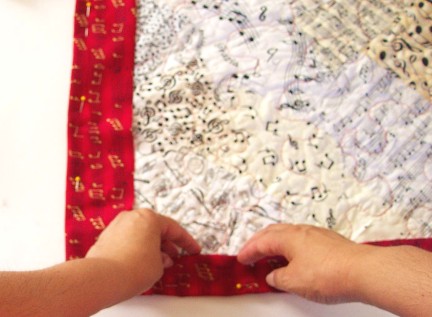
Step 6: Finish Corner
Finish turning the other edge and the other half of the corner. (Note: I goofed when cutting the backing fabric for this piece. The bottom edge shown in the photo was an inch too short. I'll fix this in the next step.) |
|
|
Step 7: Turn Edges Under
Turn under half the width of the excess fabric. Pin in place. Here's how to fix the problem shown in Step 6: I wanted 2" binding, so there should have been 4" of backing fabric extending past the quilt. Instead it was only 3", so I only turned under 1" to give a 2" wide binding. |
|
Step 8: Sew Binding
Now sew down the binding. It can be hand sewn or machine sewn. I like to hand sew the corners and machine stitch the perimeter. If you need to add a sleeve, make a fabric tube using the same fabric as the backing and hand stitch it on. |
|
I hope you found these instructions useful. This is the method that I use for most of my quilts that need binding. It is fast and easy and you don't have to worry about your quilt back puckering.
If you have any questions or comments about this tutorial, send me an email.
©2007 Loretta Alvarado
All Rights Reserved
Feel free to print out the instructions on this page for your personal use. And send your friends here too! They might find something they will enjoy. However, please don't reproduce or distribute your copy without my permission, that is a violation of my copyright. Thanks!
To get more tutorials like this one, subscribe to my mailing list.