|
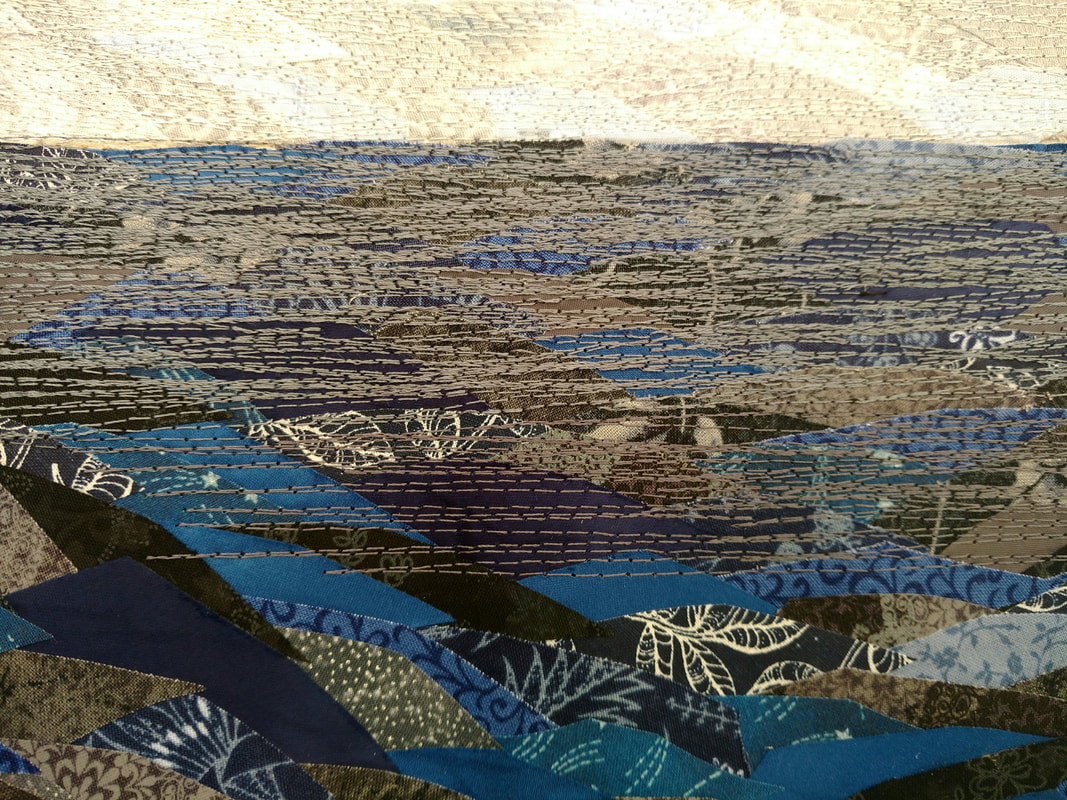
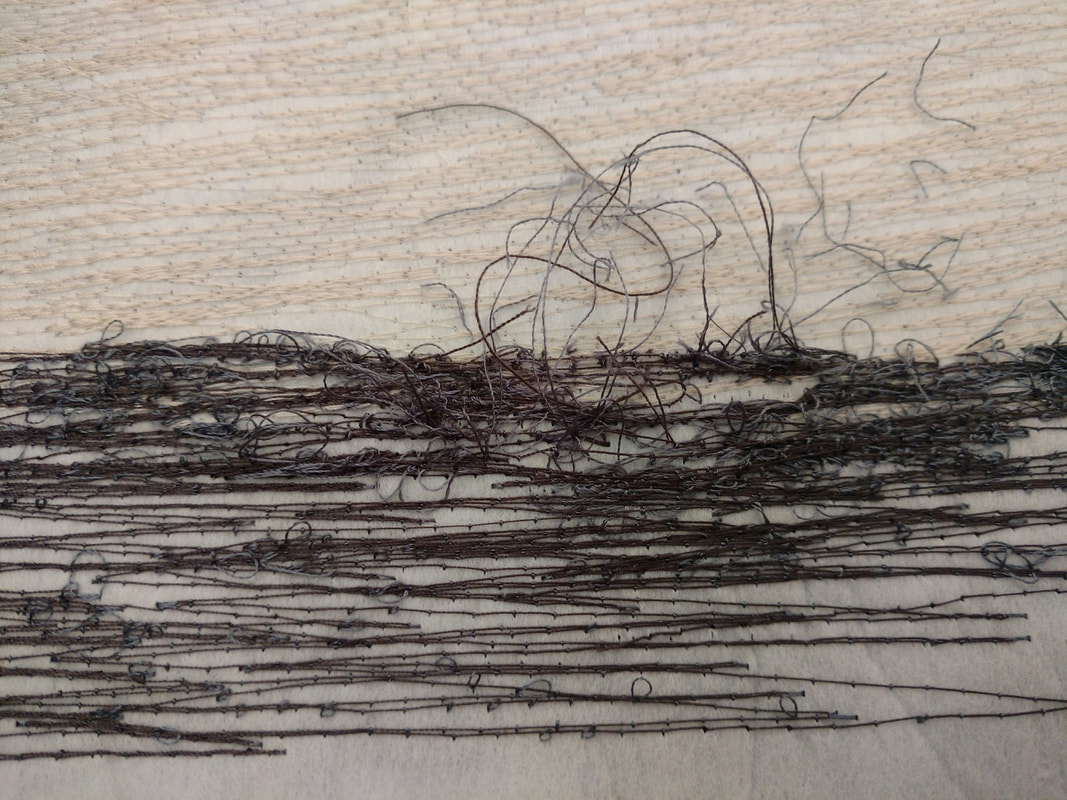
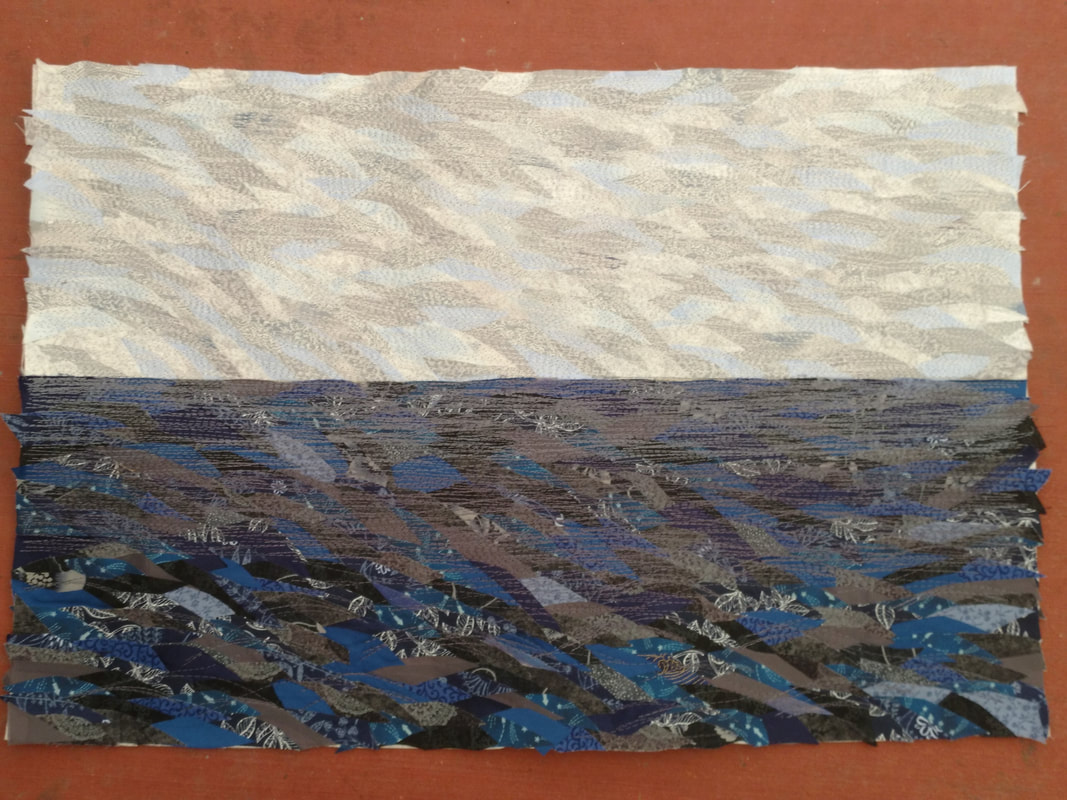
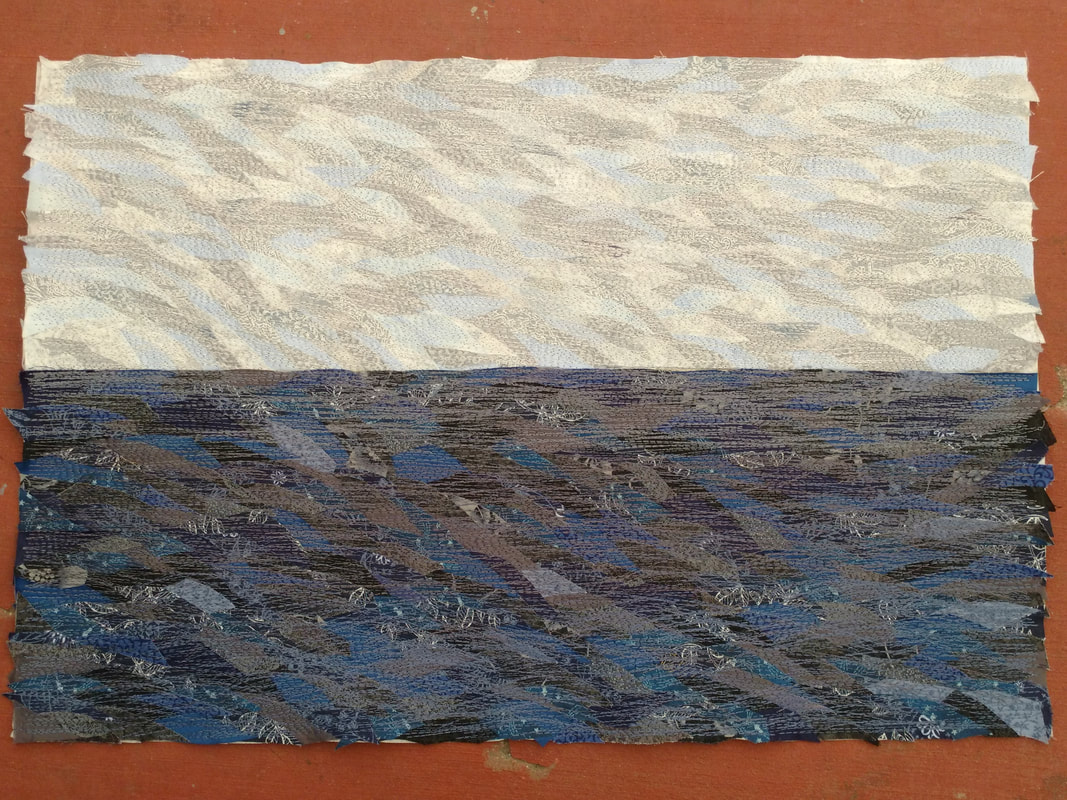
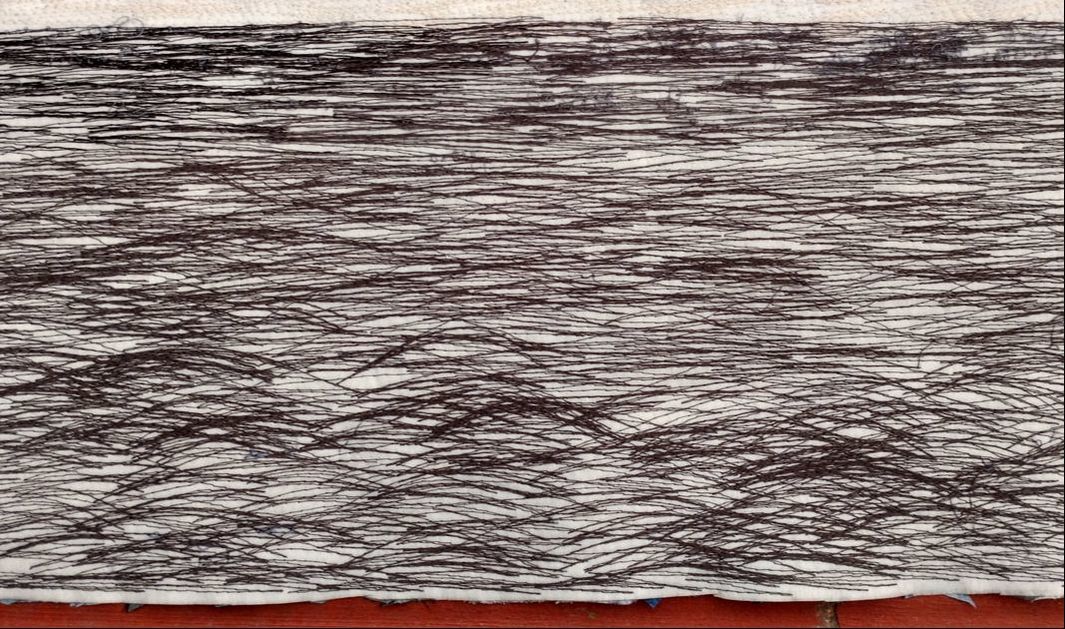
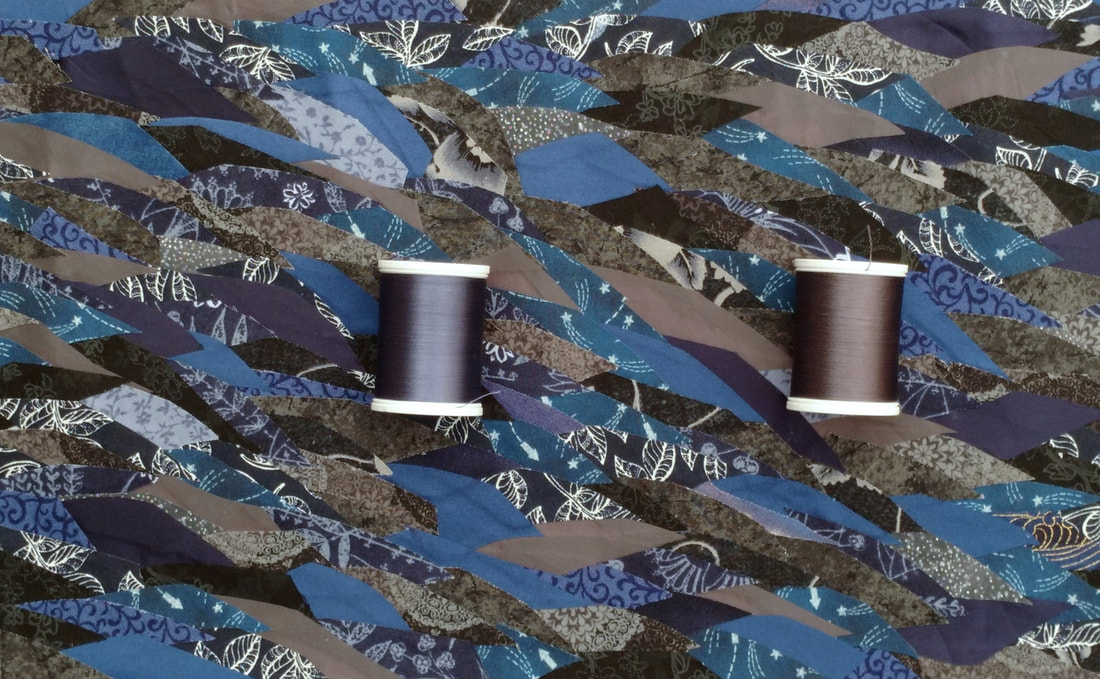
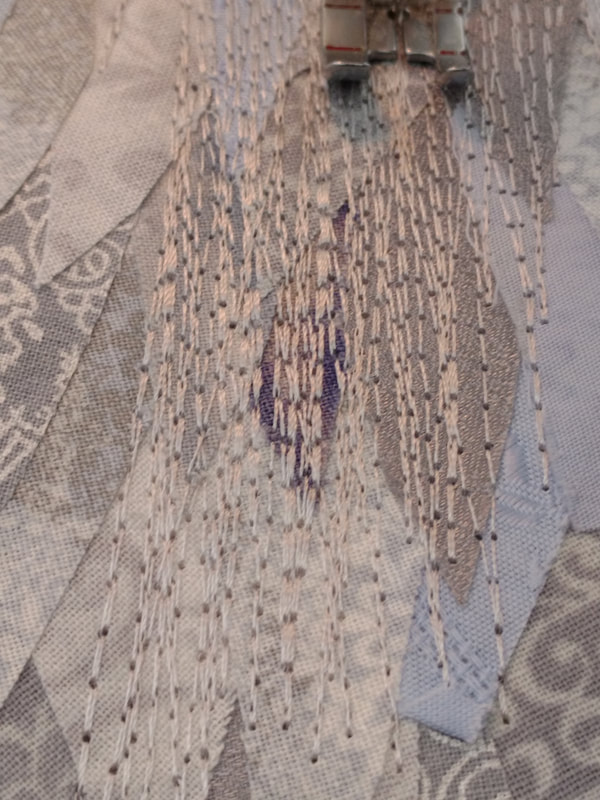
I decided to go with three different thread colors: a medium gray, a slightly darker medium gray, and the steel blue. The top couple of inches is the lighter gray. The next inch or so is the slightly darker gray. Right about this time is when the following happened... My thread tension was messed up. I spent the next hour or so ripping out thread. Unfortunately, I didn't notice the problem soon enough. One of the hazards of working at an art show, there is so much ambient noise that it is hard to hear when something isn't quite right. Much of what is in that previous image had to be ripped out. Once the thread tension problem was solved I was able to continue. Here's the two gray threads. I'm only about halfway done with the slightly darker gray at this point. Here's all the ocean all stitched with the three colors of thread. I don't usually show this, but here is what a portion of the back looks like. Notice that the top part has very straight stitching while the bottom has a lot of curves. I do the random curved stitching to give more wavelike movement to the water. Below is a brief video showing how I get that curved stitching. Next I start work on the ship!
0 Comments
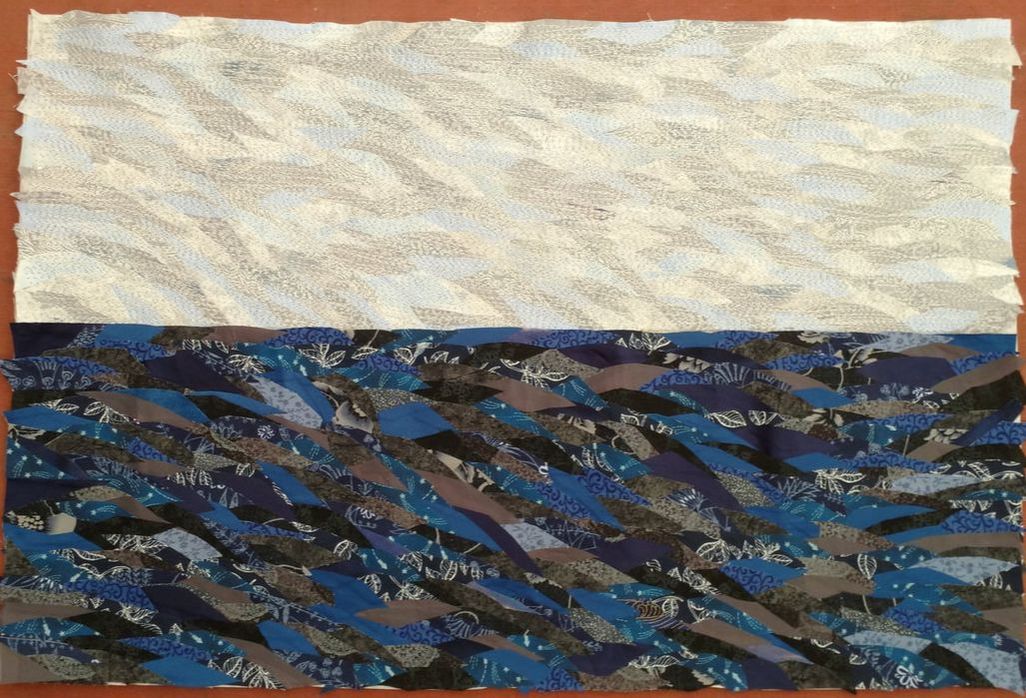
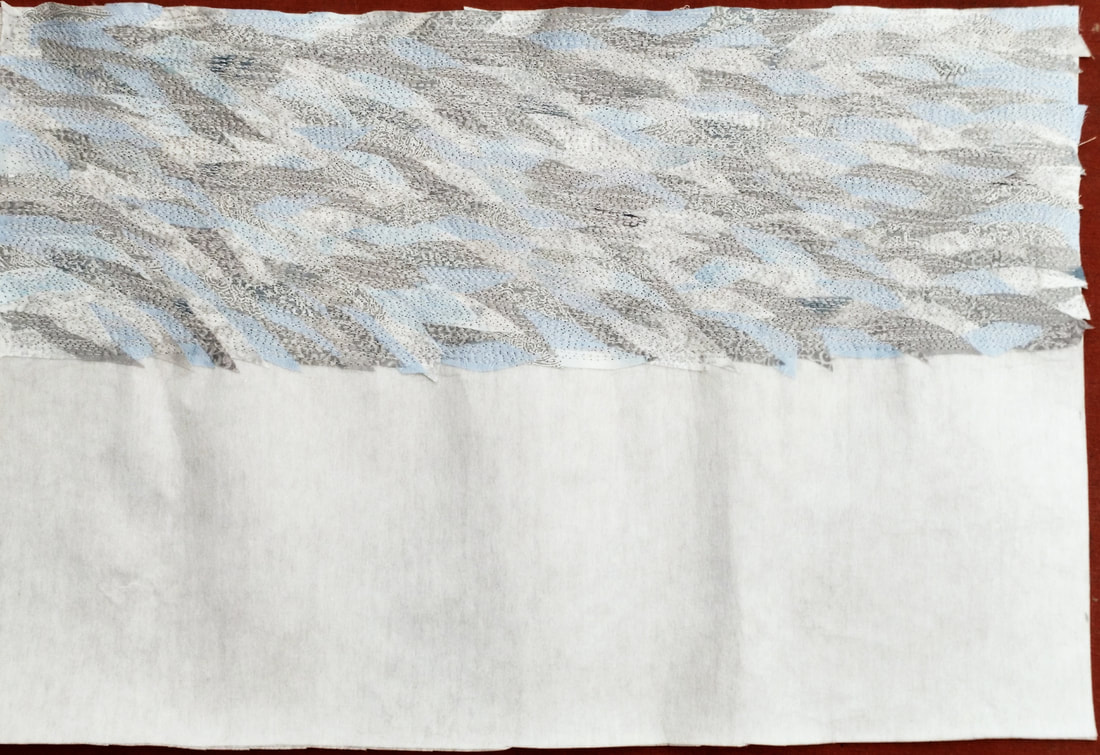
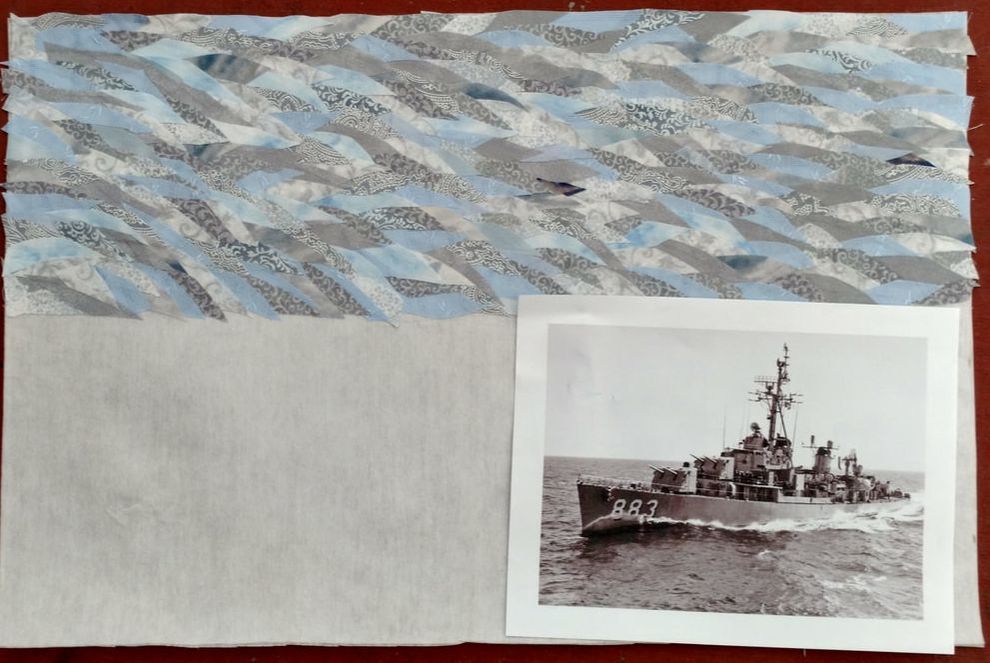
This is another time lapse video showing the ocean coming together. And here's the ocean ready to stitch. Now the question becomes: what color thread should I use? The blue is prettier. The gray is in keeping more with the mood of the piece. Both colors complement the fabric colors. Either one would look good. What to do? What to do?
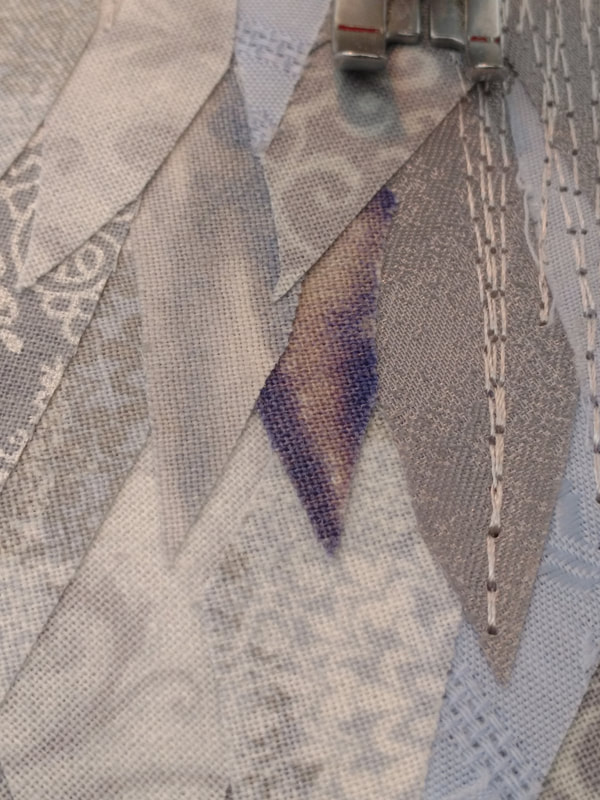
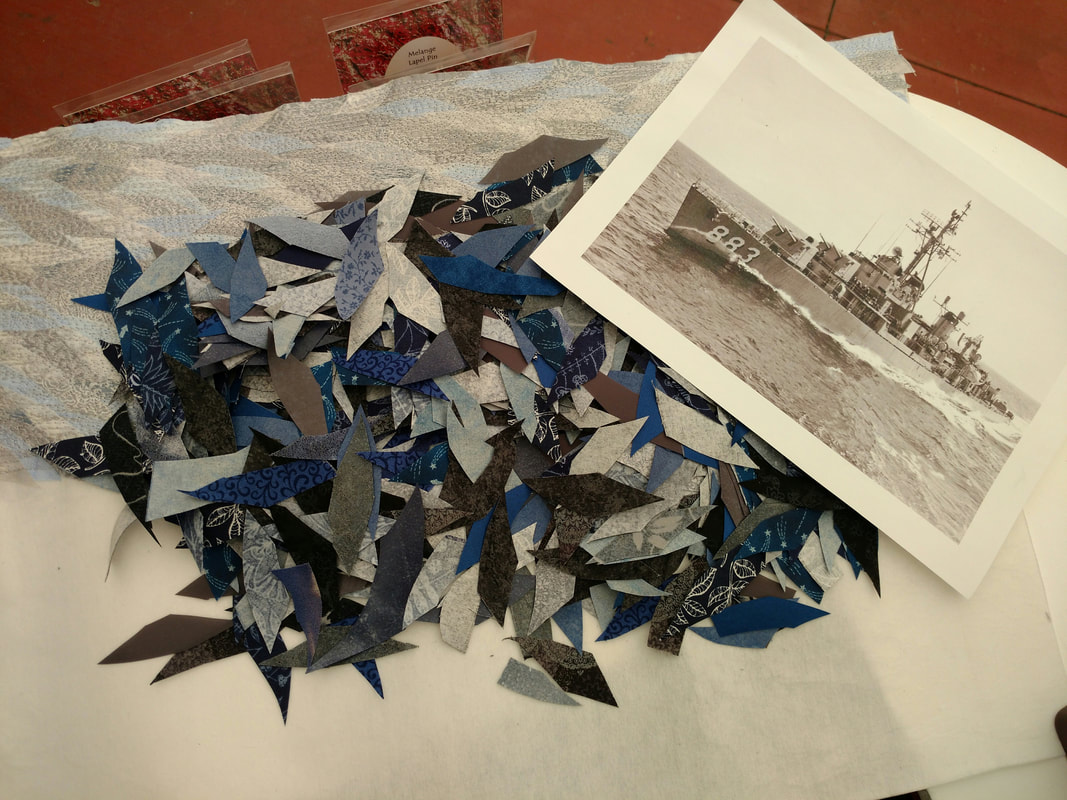
Well, I put out a questionnaire in my booth and asked people to pick the color thread they preferred. The responses were mostly for the blue. But I still like the gray. But I also like the blue. I think I'll sleep on it. Here's a close-up view of a portion of the sky. The photo on the left has just a little bit of stitching. The photo on the right has a lot more. You can really see the difference when the thread gets added on top. Not only does the thread blend all the fabrics together, but it also covers much of the designs on the fabrics. Here's the sky all stitched. And here's the next step in the creation of the Floyd B Parks: all of the fabrics cut out and ready to create the ocean. Note: right after I took this photo I was putting all of these pieces of fabric into a box. In the process I got a bit clumsy and knocked the box to the floor. I was picking up pieces for quite a while.
I had some fun with this app. It lets me do a time lapse video. In this video you can see the sky being collaged together. This is about two hours of work compressed into less than two minutes. I am placing the fabrics that I previously cut out so that the sky has some movement and so that none of the same fabrics are next to each other. And here is the sky all done. Now it is ready to be stitched.
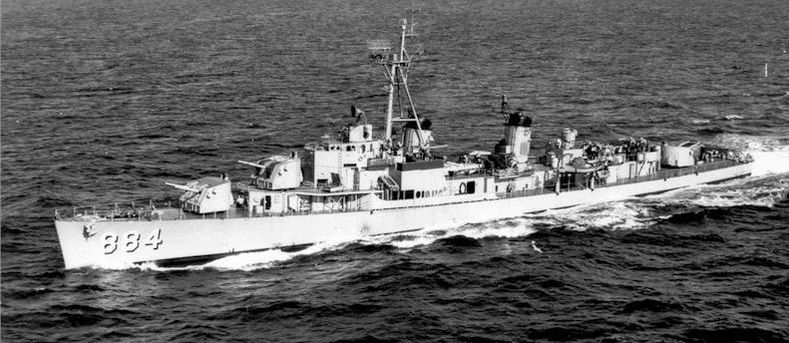
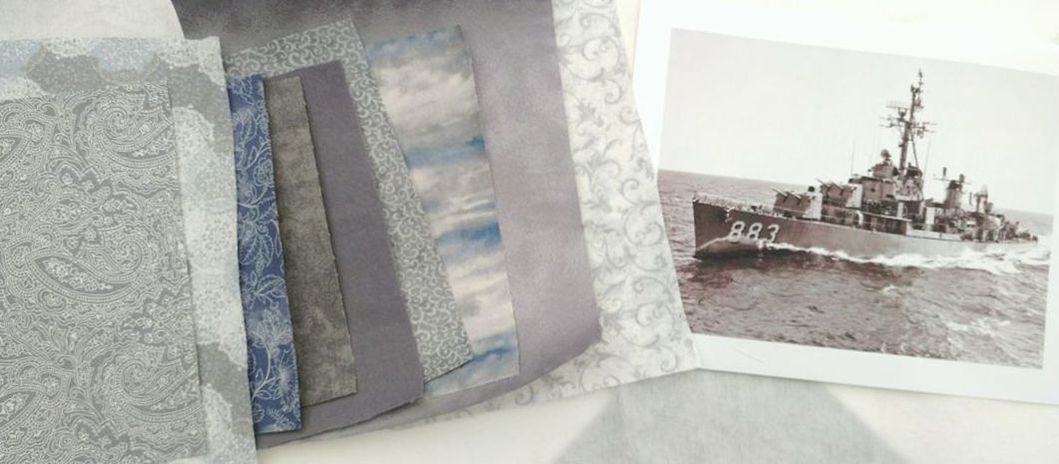
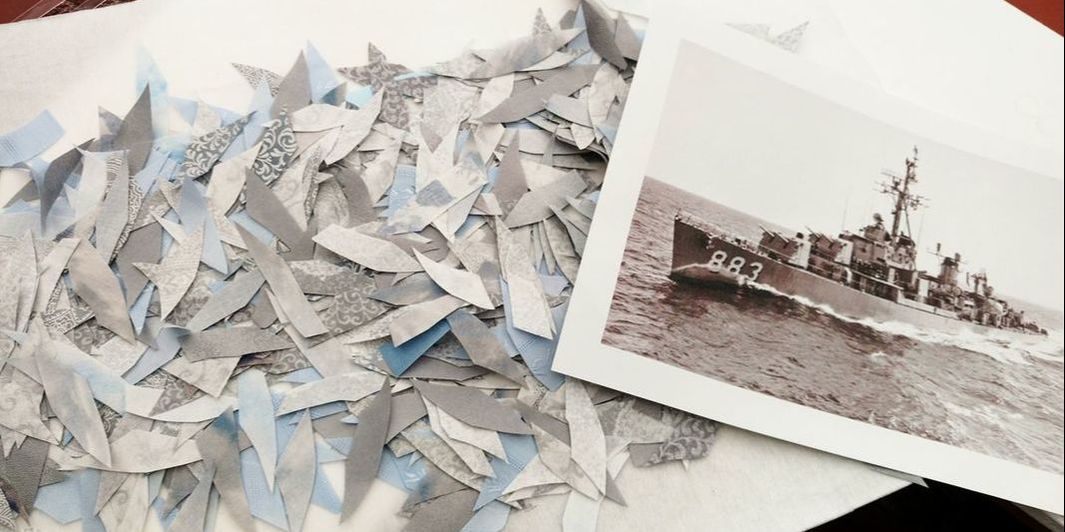
After all the responses from the last newsletter that I sent out, I decided that the next piece that I am going to work on is in honor of my father. He served aboard the USS Floyd B Parks in 1955-56. I think it will be a fitting tribute to create a piece of artwork of his ship. I think it is going to be a challenge though. There is quite a bit of detail to contend with. In this series of posts I'm going to take you through the process of creating this piece. Part One: Using the reference photo, I picked out a bunch of light grey and pale blue fabrics to represent the sky. I briefly considered going completely black and white, but decided it would make this a much too somber piece. So I decided on mostly grey with hints of blues. The third, fourth, and fifth fabrics from the left I decided not to use since they were a bit too dark for the sky. I want to have enough contrast between the sky and the ocean. I substituted some other light blue and gray fabrics instead. (Note: To anyone familiar with the USS Floyd B Parks, her number is DD-884. I am using a photo of a different ship because DD-883 and DD-884 are close enough for my purposes and I needed to use a non-copyrighted image.) The next step is to cut all the fabrics into little tiny pieces. I spent several hours doing that while I was showing my work at the Laguna Art-A-Fair Festival. You can hear the background music along with the baby bird in the nest above a neighbor's booth. Here's my pile of sky fabrics ready to collage together. But that's going to be for another day.
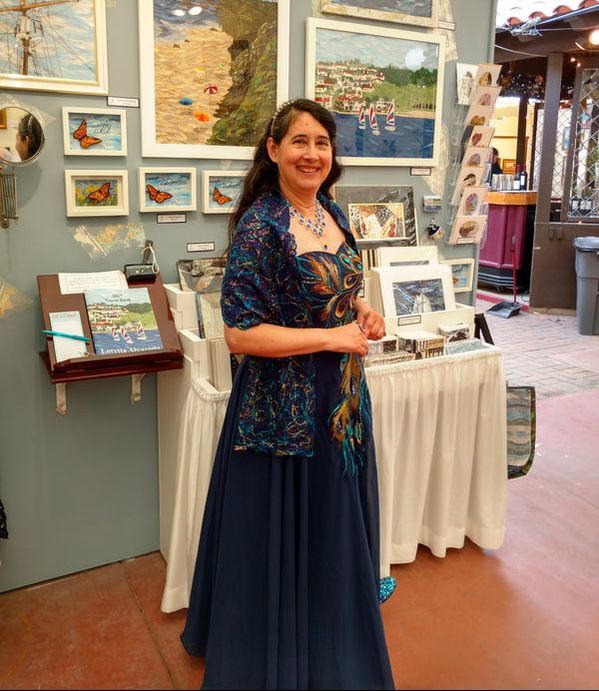
It was a beautiful evening at the Preview Night for the Laguna Beach Art-a-Fair Festival. I felt gorgeous in my new dress. And the weather couldn't have been more perfect. Thank you to all of you who came and made it such a great evening.
The Laguna Art-A-Fair is open every day through September 3, 2017. Let me know if you want tickets and I'll see if I can get you some. |
AuthorFiber Artist and Author, Loretta Alvarado Categories
All
Archives
February 2022
|
|
If you'd like to learn more about my work and my process, subscribe to my (sort of) monthly newsletter. I'll send you information about what I am working on and where you can view and purchase my latest creations. I promise I won't send you too many emails and I won't use your information for any other purpose.
|
|


 RSS Feed
