|
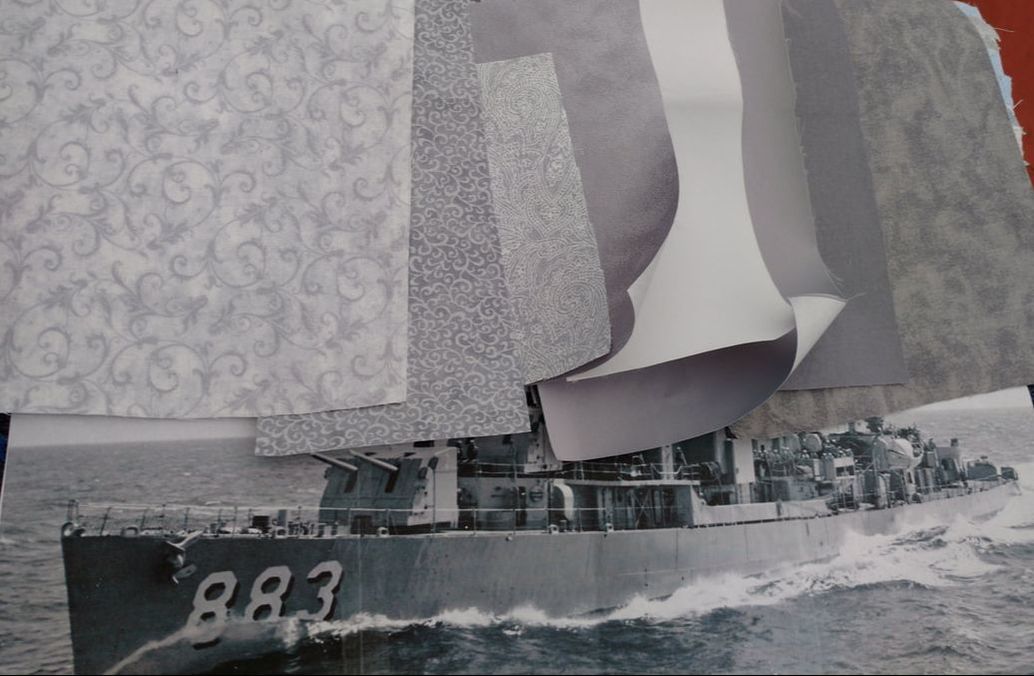
Now that the sky and the ocean background is all done, it's time to actually start work on the ship. I started by printing out the ship to the exact size of the piece. I will be using this for reference over the course of creating the piece. After staring at the photo for quite a while, I determined that I could start by laying the hull. Each of the fabrics shown in the photo will be used in the ship. For the hull I needed medium to light grays. I started by ironing a heat-activated glue to the back of each of the fabrics. The glue is attached to a paper. I will be using this paper later on. In the first part of this time-lapse video, I cut out all of the pieces of the hull. I start by carefully peeling off the paper being careful not to separate the glue from the fabric. Then I trace the shape using the full size photo as a template. After that, I iron the paper back onto the fabric and glue combo and then cut out the shape. Once all the shapes are cut out, I carefully remove the paper backing and discard it. This is where things get a little tricky. I first had to pin the full size photo to the artwork. This is so that I can place all of the pieces in the correct spot. For each of the pieces of the hull, I stuck to pins along the line of the deck through the photo and into the artwork. As I carefully lift the photo I can see the placement points as shown by the location of the pins. This will make more sense as you watch me doing this at the end of the video. Once in place, I iron the piece of fabric to activate the glue. When all of the hull pieces have been ironed down, I will stitch over the entire hull with probably 3 or 4 shades of gray thread.
1 Comment
|
AuthorFiber Artist and Author, Loretta Alvarado Categories
All
Archives
February 2022
|
|
If you'd like to learn more about my work and my process, subscribe to my (sort of) monthly newsletter. I'll send you information about what I am working on and where you can view and purchase my latest creations. I promise I won't send you too many emails and I won't use your information for any other purpose.
|
|

 RSS Feed
